Baby Back vs. Spare Ribs: Mastering Oven Methods & BBQ Sauce Secrets for the Ultimate Feast
There's an undeniable magic to perfectly cooked ribs. The kind that practically melt in your mouth, infused with smoky-sweet flavor, and cloaked in a glistening, sticky barbecue sauce. While many associate this culinary delight with outdoor grilling, mastering achieving fall-off-the-bone oven pork ribs every time is not only possible but often yields results that rival any smokehouse. Whether you're planning a cozy family dinner or gearing up for a weekend feast, understanding the nuances of cooking pork ribs in the oven—from choosing your cut to perfecting your sauce—is essential for a truly memorable experience.
This comprehensive guide will demystify the art of preparing succulent pork ribs indoors, focusing on the differences between baby back and spare ribs, exploring optimal oven methods, and sharing secrets for irresistible BBQ sauce.
Understanding Your Ribs: Baby Back vs. Spare Ribs
Before you even think about preheating your oven, knowing your ribs is paramount. The type of pork rib you choose significantly impacts cooking time, required temperature, and even the final texture and flavor profile. There are two primary contenders in the pork rib arena:
- Baby Back Ribs: These ribs are located higher on the hog, closer to the loin. As their name suggests, they are smaller and more curved than spare ribs. Baby backs are generally leaner, more tender, and cook relatively faster. Their delicate texture makes them a popular choice, though they often come with a higher price tag due to their desirable meat-to-bone ratio and tenderness.
- Pork Spare Ribs: Hailing from the belly section of the hog, spare ribs are larger, flatter, and heavier than baby back ribs. They boast a higher fat content, which translates to a more robust, richer flavor when cooked properly. While they require a longer cooking time to break down their tougher connective tissues, the payoff is incredibly flavorful, juicy meat that can literally fall off the bone. St. Louis-style ribs are spare ribs that have been trimmed of the sternum bone and cartilage for a more uniform, rectangular shape, making them easier to handle and eat.
While both types can achieve incredible tenderness, their distinct characteristics mean they each benefit from slightly different cooking approaches, which we'll explore next.
Mastering the Oven: Best Methods for Tender Pork Ribs
The secret to transforming tough connective tissue into luscious, tender meat lies in the strategic application of heat and time. When cooking pork ribs in the oven, you primarily have two temperature ranges, each suited to different rib types and desired cooking durations.
The "Low and Slow" Revolution (Ideal for Spare Ribs)
The low and slow method is a time-honored technique for a reason: it's incredibly effective at breaking down the collagen and fat in tougher cuts, yielding unparalleled tenderness. This approach is particularly well-suited for pork spare ribs.
- Temperature: 225°F – 250°F (107°C – 121°C)
- Time: Typically 3-5 hours, with spare ribs often needing 4-5 hours.
- Why it works: At these lower temperatures, the connective tissues have ample time to slowly render and dissolve, resulting in that coveted fall-off-the-bone texture without drying out the meat. This gentle cooking process also allows flavors to penetrate deeply.
The "Higher Temperature" Approach (Perfect for Baby Back Ribs)
When time is a factor, or you're cooking the more delicate baby back ribs, a slightly higher oven temperature can speed up the process while still achieving delicious results.
- Temperature: 300°F – 350°F (149°C – 177°C)
- Time: Approximately 2-3 hours, ideal for baby back ribs.
- Why it works: This method provides enough heat to cook the smaller, leaner baby back ribs thoroughly and tenderize them efficiently, without requiring the extended cooking duration of spare ribs. The key is to monitor them to prevent drying.
The Foil-Wrapped Method: A Tenderizing Secret
One of the most consistently effective techniques for achieving incredibly tender oven pork ribs is wrapping them tightly in aluminum foil. This creates a steamy, self-braising environment that locks in moisture and helps break down tough fibers.
- Preheat & Prep: Preheat your oven to your desired temperature (e.g., 225°F for spare ribs, 300°F for baby back ribs). A crucial step often overlooked is removing the thin, papery membrane (silver skin) from the bone side of the ribs. This membrane can become tough and chewy, hindering both tenderness and flavor absorption. Simply slide a knife under the membrane at one end, lift, and pull it off with a paper towel for grip.
- Season Generously: Apply your favorite dry rub liberally to both sides of the ribs. Don't be shy! This is where a significant amount of your rib's core flavor comes from. Consider a blend of brown sugar, smoked paprika, garlic powder, onion powder, salt, black pepper, and a touch of cayenne for heat.
- Wrap It Up: Place the seasoned ribs on a large sheet of heavy-duty aluminum foil (or a double layer of regular foil). Wrap them tightly, creating a sealed packet to trap all the moisture and steam. You can also add a splash of liquid (like apple cider, beer, or chicken broth) inside the foil for extra moisture and flavor, as some recipes suggest.
- Bake to Perfection: Place the foil-wrapped ribs on a baking sheet and bake for the designated time. While a minimum internal temperature of 145°F (63°C) is safe for pork, truly tender, fall-off-the-bone ribs often need to reach temperatures closer to 190-205°F (88-96°C) for optimal collagen breakdown.
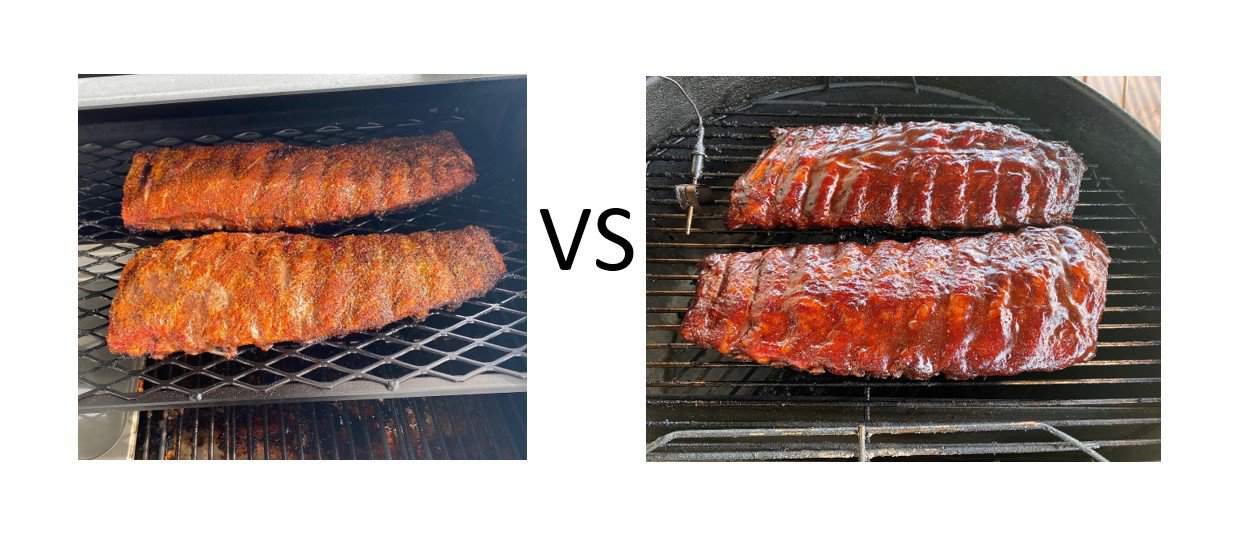
- The Grand Finale (Optional but Recommended): Once the ribs are tender, carefully unwrap them from the foil. This is your chance to apply your BBQ sauce. Return the sauced ribs to the oven (or transfer to a broiler or hot grill) for another 15-30 minutes, basting occasionally. The goal is to allow the sauce to caramelize and become sticky, creating a beautiful glaze.
The Art of Flavor: Rubs, Marinades, and BBQ Sauce Secrets
While cooking technique is vital, the flavor profile of your ribs is equally important. This comes down to the initial seasoning and the glorious finishing sauce.
Crafting the Perfect Rub & Marinade
A well-balanced dry rub forms the foundational flavor layer for your ribs. It not only imparts spices but also creates a delicious crust when cooked. Common ingredients include various sugars (brown sugar, turbinado), salts (kosher, sea salt), and an array of spices like paprika (smoked or sweet), chili powder, garlic powder, onion powder, cumin, and mustard powder. Apply your rub hours, or even a day, in advance and refrigerate to allow the flavors to penetrate the meat.
While dry rubs are standard, some chefs opt for marinades, particularly for leaner ribs like baby backs. Marinades, often acidic (vinegar, citrus juice) or enzymatic (pineapple, papaya), tenderize the meat while infusing flavor. If using a marinade, ensure it's thick enough to cling to the ribs. Alternatively, as seen in some acclaimed recipes, incorporating a flavorful liquid like apple cider or beer within the foil packet during the slow-cooking process can create a steamy, aromatic environment that deeply infuses the ribs with flavor from the inside out.
Homemade BBQ Sauce: The Grand Finale
While quality store-bought BBQ sauces exist, crafting your own allows for unparalleled customization and freshness. A truly great homemade barbecue sauce balances sweetness, tanginess, savory depth, and a hint of spice. Basic components often include:
- Sweetness: Brown sugar, molasses, honey, maple syrup.
- Tanginess: Apple cider vinegar, white vinegar, mustard, ketchup.
- Savory Depth: Worcestershire sauce, soy sauce, onion and garlic powder, liquid smoke (optional).
- Spice: Chili powder, cayenne pepper, black pepper, hot sauce.
Simmer your sauce on the stovetop until thickened, tasting and adjusting as you go. For the best results, apply your BBQ sauce in the final stages of cooking after the ribs are tender. This prevents the sugars in the sauce from burning during the long cook time. Baste generously, then return the ribs to a higher oven temperature (around 375-400°F or 190-200°C) or under the broiler for 10-20 minutes, flipping and basting every few minutes, until the sauce is beautifully caramelized and sticky. This critical step adds that irresistible glossy finish and intensified flavor.
Tips for Oven Pork Rib Perfection
- Don't Rush the Rest: Once out of the oven, let your ribs rest, loosely covered with foil, for 10-15 minutes before slicing. This allows the juices to redistribute, ensuring maximum moisture and tenderness.
- The Bend Test: To truly gauge doneness, gently pick up one end of a rib with tongs. If the rack bends significantly and the meat shows signs of tearing easily, they're perfectly tender.
- Avoid Overcrowding: Cook ribs in a single layer on your baking sheet. Overcrowding can lead to uneven cooking and steaming instead of roasting. If you have too many ribs, cook them in batches.
- Internal Temperature: While 145°F is safe, aiming for 190-205°F for breakdown of connective tissues is ideal for fall-off-the-bone tenderness. A meat thermometer is your best friend.
- Flavor Enhancers: Experiment with adding liquid smoke to your rub or sauce for a subtle smoky flavor without a grill.
Whether you lean towards the smaller, quicker-cooking baby back ribs or the larger, more flavorful pork spare ribs, mastering the art of pork ribs in oven is a highly rewarding culinary pursuit. By understanding the characteristics of each rib type, utilizing the foil-wrapped method, and perfecting your rub and homemade barbecue sauce, you'll consistently create incredibly tender, flavorful ribs that are sure to impress. So go ahead, choose your ribs, fire up that oven, and prepare for a truly delicious, finger-licking experience!
